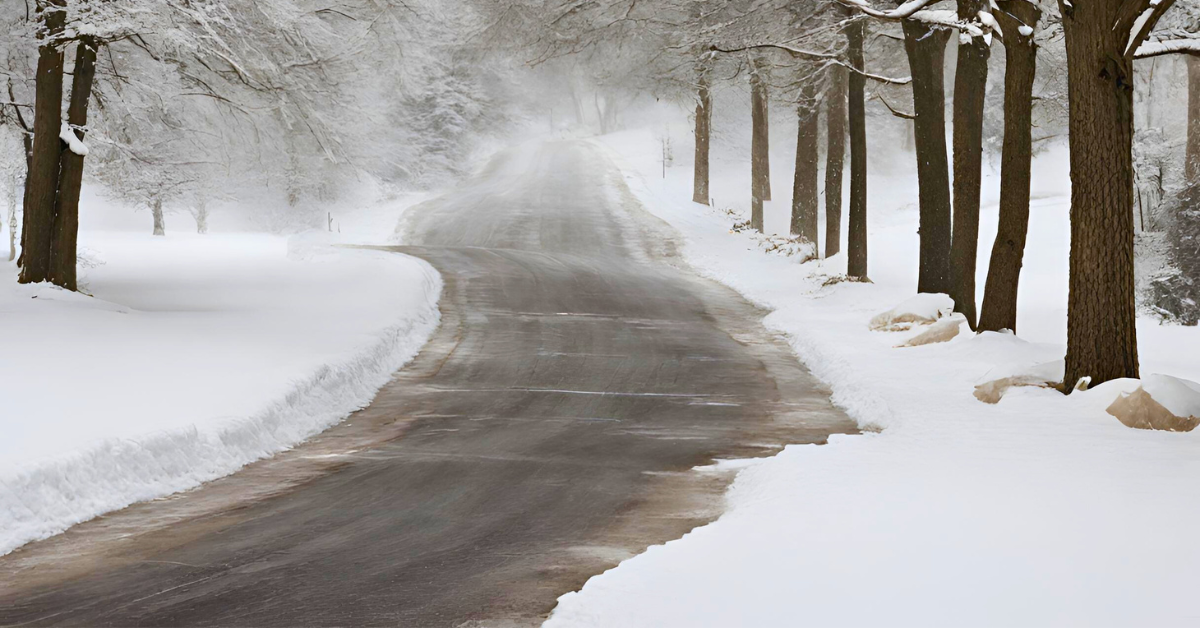
Winter weather preparation is essential for homeowners who want to avoid the hassle and expense of snow and ice removal. One of the most cost-effective driveway care methods is brine application, which can prevent ice from forming on your driveway and make it easier to clear the snow. Brine for driveways is a simple and affordable solution that consists of salt and water. By applying brine to your driveway before a snowstorm, you can create a protective layer that lowers the freezing point of water and prevents ice from bonding to the pavement. This way, you can save yourself the trouble of chipping away at ice and protect your driveway from cracks and potholes caused by heavy snow and ice. Brine effectiveness has been proven by many studies and testimonials, and it is one of the best de-icing methods available. If you want to enjoy the beauty of winter without worrying about your driveway, brine application is the solution for you.
Table of Contents
The Science Behind Brine
Brine is a mixture of salt and water that is used to melt ice on roads and driveways. But how does it work? The solution is something amazing called freezing point depression.
When salt is added to water, it lowers the freezing point of the water. This means that the water will remain in a liquid state at a lower temperature than it would without the salt. When brine is applied to ice, the salt in the brine lowers the freezing point of the ice, causing it to melt.
But how much salt should be added to the water to create the ideal brine solution? The answer depends on a number of factors, including the temperature, humidity, and wind conditions. In general, a concentration of 23.3% salt by weight is considered to be the ideal concentration for brine.
Benefits of Using Brine for Driveways
Traditional snow removal methods such as shoveling and plowing can be time-consuming, labor-intensive, and expensive. Fortunately, there’s a better way: brine for driveways.
Here are some of the benefits of using brine for driveways:
- Time-saving benefits: Brine is a pre-treatment solution that can be applied to your driveway before a snowstorm. This means that you don’t have to spend hours shoveling or plowing your driveway after the snow has fallen. Instead, the snow will melt in contact with the brine, making it easier to remove.
- Cost-effectiveness: Brine is an affordable solution for snow removal. It is less expensive than traditional snow removal methods, such as plowing and shoveling. In addition, it requires less labor, which means that you can save money on labor costs.
- Environmental benefits: Brine is an environmentally friendly solution for snow removal. It is less harmful to the environment than traditional snow removal methods, such as rock salt. Brine is also less corrosive than rock salt, which means that it is less damaging to your driveway and other surfaces.
- Impact on vegetation and soil: Brine can have an impact on vegetation and soil if it is not used properly. However, if you use brine in the right way, it can actually be beneficial for your lawn and garden. Brine can help to reduce the amount of salt that is used for snow removal, which means that there is less salt runoff into the soil. This can help to protect your lawn and garden from salt damage.
How to Apply Brine to Your Driveway
Applying brine to your driveway is a simple process that can be done in a few easy steps. Here’s a step-by-step guide on how to apply brine to driveways effectively:
Step 1: Prepare the brine solution
The first step in applying brine to your driveway is to prepare the brine solution. To do this, you’ll need to mix salt and water in the right proportions. The ideal concentration of salt in the brine solution is 23.3% by weight. You can use a brine maker to prepare the solution or make it manually.
Step 2: Selecting the Appropriate Time for Brine Application
The next step is to choose the right Time for brine application. It’s best to apply brine to your driveway before a snowstorm. This will prevent ice from forming on your driveway and make it easier to remove snow after the storm. You should also avoid applying brine when the temperature is below 15°F, as it may not be effective at melting ice at such low temperatures.
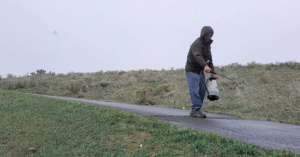
Step 3: Apply the brine solution
Once you’ve prepared the brine solution and chosen the right time for application, it’s time to apply the brine to your driveway. You can use a sprayer or a garden hose to apply the brine solution. Make sure to apply the solution evenly across your driveway to ensure that it is effective at melting ice.
Step 4: Use the right amount of brine
The amount of brine you need to use depends on the size of your driveway and the weather conditions. As a general rule, you should use 30-60 gallons of brine per lane mile at a 23.3% solution. If you have a smaller driveway, you can adjust the amount of brine accordingly.
Step 5: Take safety precautions
When applying brine to your driveway, it’s important to take safety precautions. Wear protective clothing, such as gloves and goggles, to avoid skin and eye irritation. Avoid inhaling the brine solution, as it can cause respiratory problems. If you get brine on your skin or in your eyes, rinse it off immediately with water.
Conclusion
Brine is not just a tasty ingredient for cooking, but also a great solution for keeping your driveways clear and safe during winter. Brine has many advantages over salt, such as being more effective at lower temperatures, preventing ice from forming in the first place and reducing the environmental impact of salt runoff. Brine is also easy and convenient to apply, as you can make your own brine solution at home and spray it on your driveway before a snowstorm. You can also buy ready-made brine from local stores or online. By using brine, you can save time, money, and energy, and enjoy a hassle-free winter. Brine is a smart and effective winter preparedness tool that you should embrace today.